Sunday, August 22, 2010

#1 Tip for Falling in Love with Your Current Clothes!


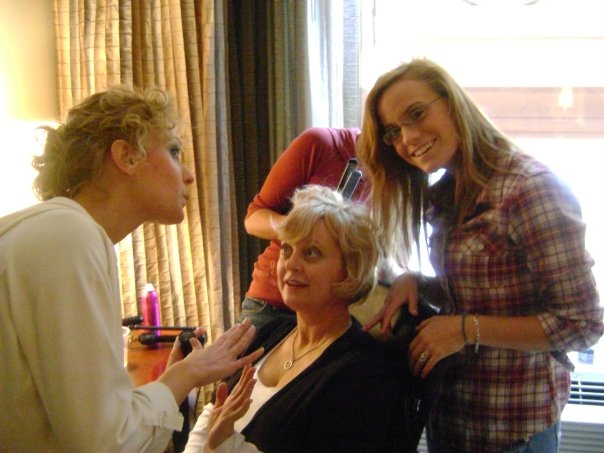
Last month I worked with a cute petite woman. She had an amazing body, but wasn't showing it off properly due to ill fitting clothes. Within a few short minutes we had a large pile of clothes that needed alterations. My first month working as an image consultant I learned the secret to loving my clothes....a TAILOR! I had never thought to use a tailor for anything but taking up the hem of my pants, and soon my tailor began opening up a new way of dressing for me.
Here is a little clothing history for you. Up until WW2 women made their own clothes. They bought dress patterns and knew how to alter the clothing to fit their bodies. During the war many woman had to go to work to support their families and no longer had time to make their own clothes, so Ready-to-Wear clothing was born. But even then, women still had sowing skills and knew to how to make the clothing purchased from a store fit their bodies. Over the years sowing became less of a necessary skill and more of a hobby. Women have forgotten that the clothing in stores was created for a model body (usually beginning with a 5'7, size 6 form and then translated into different sizes).  

So you know what this means? It was never meant to fit you perfectly! You no longer need to spend hours searching for that perfect pair of black pants (or jeans!) Find a pair that fit the biggest part of your body and then alter down. Here are some other tips I have learned to help you when visiting the tailor.

-Petite women, listen up!! If you always need to alter the hem of your pants, you should also always alter the hem of your skirts and dresses. You are most likely wearing these at the least flattering part of your leg (between mid calf and the ankle) Pull them up and your legs will instantly look longer and thinner!

-There is nothing more unprofessional than a jacket with sleeves that are too long. Jacket length is a common hem that most women overlook. Men have always seen a tailor to make sure their jacket sleeves are at the perfect length, women follow the lead of your man on this one. 

-Curvy women: Buy your pants to fit your butt/hips then have a tailor take in the waist.

-Do not buy a jacket or blouse that is too big in the shoulders, this is an alteration that is too costly to fix and usually doesn't retain the correct shape afterward. 

-This is a fun one: Jeans are getting thinner in the legs these days. Save your favorite pair of jeans from the donation bin buy having your tailor take in the width of the legs. (I made my husband do this when he hated a pair of bootleg jeans he got from Christmas and now he wears them all the time)

-Ask around for recommendations before trying out a new tailor. Look for someone that will offer their advice rather than relying on you to tell them what to do, they are the expert! 

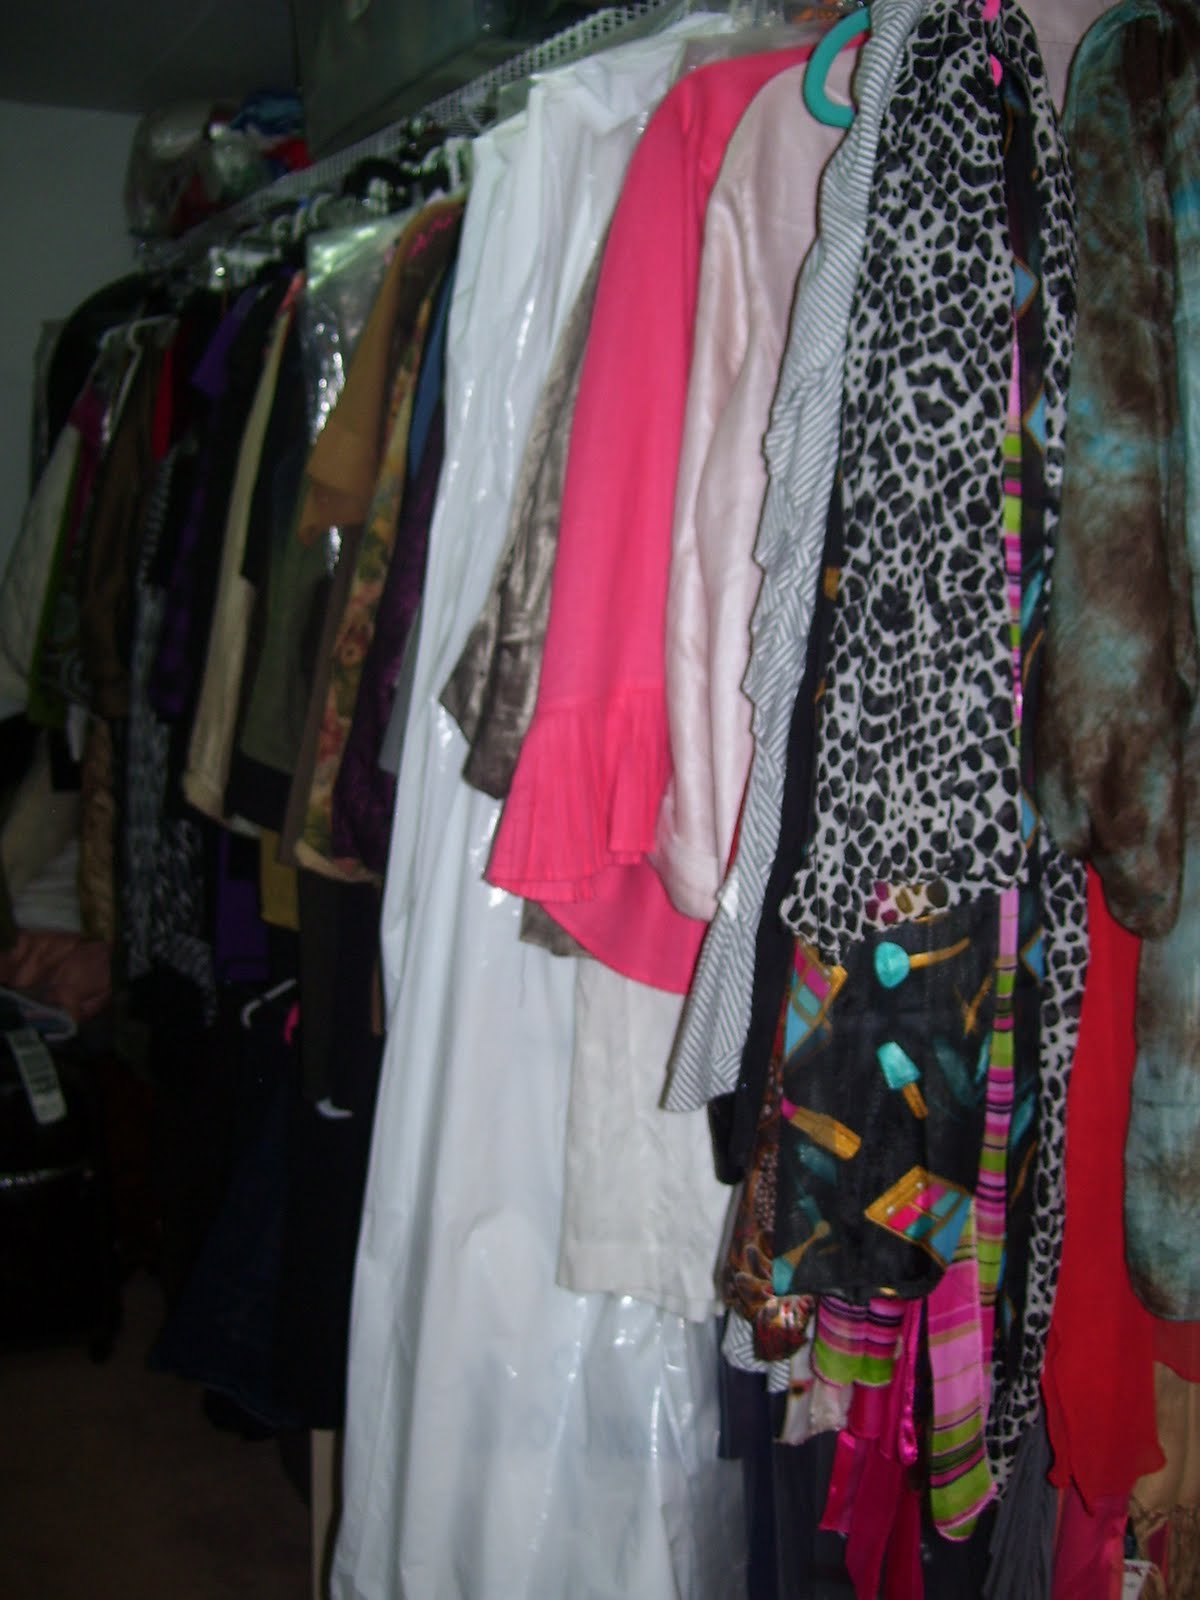
When you begin to transfer your closet to your Fall wardrobe, try on your clothes and make a pile of  clothes to take to the tailor. They will be like new again! If you need help learning right fit from wrong fit, schedule your wardrobe appointment with me today!

Tuesday, July 13, 2010

Online Shopping Anyone?

I found this very cool online store with lots of cute, affordable clothing called Mod Cloth! Their clothing is vintage inspired, but it looks very anthropologie to me. As you know, I am very feminine, so most items in anthropologie are exactly my style. I was so excited to find this site, because I usually have to reserve my anthropologie purchases for special occasions since their price range is a little high. Hope you enjoy!!

Monday, June 28, 2010

Moms! Your Looks Are Important Too!!

Calling all mothers....or wives with busy lives! I know you are busy, there is little time in the day. Cleaning the house, dressing the kids, running errands, work, husbands, dinner....There is not time to think about your own looks. This article will teach you otherwise. Stop and take some time for yourself, it will be helpful for you and your family.

My beautiful mother, sister and I, dressing for my wedding!

I believe mother's are the first example for children to learn the importance of personal appearance. I have always told my clients that my mother gave me a passion for beauty and personal appearance. She woke up every morning and dressed, put on her makeup and fixed her hair. As a child, I remember sitting in bed with her in the morning while she applied her makeup up...(she still puts her makeup on in bed.) In the second grade she taught me to fix my hair, in 4th grade she taught me to shave my legs, then in 5th grade she taught me to apply makeup (and also hired a Mary Kay makeup artist for my birthday to teach my friends and I what colors of makeup to wear.)

I also believe that children and husbands like to have a pretty mom. Lately, I have been lazy and on the days I don't have work or have plans, I have stayed in my grubbies and not applied my makeup. Jeffrey doesn't come out and say it directly, but he makes comments about how I don't look as nice. I realized that he likes for me to get dressed for him. Children are the same. If their mother shows up to school with bad hair, makeup and clothes, you embarrass them. In school, I had friends tell me that they wished their moms would dress nice like my mom. My husband also admits that he liked that his mom always looked nice, and it taught him to look for a wife that would cared about appearance.

This article is not to say that you should become vein and obsessed with your outer appearance, but to let you know that your looks might not be important to you, but they are important for your family. It is never too late to learn to apply your makeup. I've had many clients who were 40 and older come to learn the proper application and colors. Also, if you do not feel comfortable teaching your daughters to apply their makeup, give them the gift of a makeup lesson. I usually suggest this before entering Jr. High. The girls in junior high are VERY scary when it comes to the makeup they will experiment with and you want your daughter to be aware of the proper application and sanitation before they make many mistakes they will regret later.

Wednesday, June 16, 2010

I love to be crafty! Shelbi's Fashionable Flip Flops!

A few weeks ago I was grazing through the J Crew catalog and I came across several cute flip flops. I decided to try my hand at copying their fashionable flops at a lower cost. They turned out pretty cute! I became obsessed with making new flops with different colors and materials. Then I decided to see if they would sell on Etsy. Check them out by clicking on the box to the right. Even if they don't sell, it is a fun way to get my creative juices flowing!
Here are some of my inspirations with my design under them. Of course I love color, therefore my flops are brighter! If you like any of them, let me know and I will make you a custom pair for only $18!
Flowery Flop
Jeweled Flop
More Flowered Flops

If you like to be crafty, keep your eyes out for fashion that you can create at home! With all this creative energy I have there will be more DIY projects to come.

Monday, June 14, 2010

The Importance of Eyebrows!

When I give a makeup lesson, I always tell the person that the 3 most important makeup steps are Brows, Blush and Lips. They will frame your face so that the eye can focus on your whole face and not just one piece of you. (Example: Bright red lips with very light eyebrows would result in someone staring at your lips). Sometimes it is ok to create a focal point like for photo shoots, costume parties, or if you want the avant garde fashion makeup for a special event. This article is meant for everyday natural makeup.

Ashley's brows are too light in comparison to her lipstick.

Kate's brows and lips are correct, one is not standing out from the other.

Many people get scared when I mention filling in their brows. They have had bad experiences at the makeup counter with makeup artists making them look like a man with dark bushy brows. I aim to achieve a brow that looks as natural as possible. As women age their brows loose hair so they will actually look younger if they fill in the brow. Also, it will lift the eyes, giving you the cheapest eye lift without surgery!

First step to creating great brows is to shape them properly. This article will give you steps to create a great brow shape.

Now that you have the proper shape you need to choose the product that is best for filling in the empty spots. If you have great brows that only need shaping you may only need a clear gel like a clear mascara or a product called "brow set" that will hold them in place for you, sort of like hair spray for your brows.
These are my cousin, Melissa's amazing brows that I am so jealous of. She shapes them and uses a clear gel to set them in place.

I have used many products in the past. Wax Pencils, Powder Pencils, Powders, Wax Pigments, Mascara like tints for your brows. They all have their place and I feel like it is your preference as to which one works best for you. At the moment I am enjoy my mascara like tint called "brow tint." It is so quick and easy!

Third step is to choose the color. Blonde's and people with gray or white hair should always go one step darker than their hair. All other hair colors should have brows the same color. Try not to go too red or gray. Because the color is so important I do not recommend using eye shadows on your brows, find a color that was made for brows.

The picture of me with one brow penciled in that I show at presentations. Many blondes have thin light brows, it is one of the first steps I will apply when making up their face.

Most Asian women have thin brows. Filling in their brows will make their eyes pop!

It may take several attempts to perfect the brow filling process. Please do not give up if the first time is difficult for you, it will be worth it once you perfect your brows! If you need help filling in those brows, make an appointment with me for a one hour makeup lesson!

Saturday, June 5, 2010

Mom's Daunting Closet!

Last Sunday when I was visiting my mom in Odessa, we spent 7 hours cleaning out her closet! It was a mess! She had clothes, trash and random non-clothing items strung all over the floor and on every surface. Her winter and summer clothes were mixed in and there was dust everywhere! My mom is very lucky to have a huge closet, but because of the size, it can accumulate a lot of junk! 

When we started the project is was daunting... where do we begin?!? Mom started to get overwhelmed very quickly, which is normal....that is where I came in. First we took out everything that was on the floor and started arranging it into piles in her room (trash, things that go in my siblings rooms, things that belong in the kitchen, laundry..) Then I started to gather the trash, I swear my mom hasn't thrown away a price tag from her clothes, she just takes them off and lets them land somewhere in the closet. By the end of the day we had accumulated about three 40 gallon bags of trash (some of this included clothes that would not be taken to goodwill).

Next we started on her shoes and purses. My mom has a serious shoe and purse addiction! We separated the shoes into three piles: winter shoes, summer shoes and shoes to get rid of. We stored the winter shoes away so they wouldn't accumulate dust. My mom and I like to save the bags that bedspreads and sheets come in to use for storage. We separated the summer shoes into work shoes and casual shoes (flip flops, tennis shoes). Then put them away. By the end we had a pile of shoes to donate that filled a 40 gallon trash bag!

We separated purses into keep and get rid of. Then we separated the purses to keep into dressy (for formal events) and everyday bags. We stored the evening bags together and the bags that she wouldn't be using this summer in a separate bag. We also filled a 40 gallon bag with her purses to get rid of!

Jewelry was next on our list. My mom has a neat jewelry case, but it didn't fit all of her jewelry. She also had some necklaces hanging on her wall on thumb tacks which initially was a good idea, except her hair and makeup station is located directly in front of them and hairspray was being sprayed around the necklaces so they were getting really dirty! Her "good" jewelry was mixed in with some of my great grandmothers costume jewelry in some of her closet drawers. We needed to get it all in one place so that she knew what she had. This process was long and tedious, but well worth it. I tell people to not get rid of jewelry (unless it is broken) because it is something that will return or at least you can give it to your grand kids to play with one day.. So we put away the broaches from several years ago and she gave me and my grandmother a few necklaces she doesn't wear.

Now with all the tedious projects taken care of, it was time for the clothes! About 2 years ago I had briefly gone through my mother's clothes with her and we did some major damage (about six 40 gallon bags of donated clothes). She had some really ugly clothes that had to leave her closet. This time around it was much different. We actually only got rid of clothing because of a bad fit or because it was worn out. I complimented my mom for buying better purchases and using the "rules" on color and style I had taught her. Our main focus was to arrange the clothes so that she knew wear to find something. First we tackled the drawers which had her socks, pj's and underwear, that didn't take too long. The we worked on her clothes that were hanging up. We put her blouses and t-shirts on the left side of the closet. Tank Tops went first went first in color order (white, black, brown, yellows, reds, pinks, purple, blue, teal, green, then prints). Blouses and work tops next, in color order, then we arranged her t-shirts the same. On the right side of the closet we put winter clothes that were left on the hanger in the back of the closet, and because her closet collects so much dust we put cleaning bags over them. Then dresses, where there was still some space for longer clothing. The rest of the right side is split into two racks. The lower racks held her pants and skirts. The upper rack held her jackets, cardigans, and button-ups shirts that she wears open as a jacket (these were also in color order.) 

By this time we were exhausted! I saved making outfits for the next day....though I didn't take any pictures of her outfits with my camera. 

Mom LOVES her closet, she says that she just goes in there to look at it in awe of its organization. She is putting her clothes away each night to keep from messing it up again.  
Some of the junk we took out at the beginning.

Necklaces that hung on her wall.

The left side of her closet before organizing it.

After organizing it. (To make your closet look even better try to use the same hangers for everything and it will transform the look) I love the new thin felt hangers, it creates a lot more room.

The right side of the closet before.(You can't even see her pants!)

The right side of the closet after. I forgot to say that we hung her scarves on hangers in the very front.

Shoes!

Junk!


After, this is where her casual shoes went.

Her shoe racks before.. see the boots up there.

Her work shoes after, also in a color order.

My mom had 7 robes! I let her keep 2 for winter and 2 for summer.

The shoes we donated.

The purses we donated. Make sure to go through the purses to remove any money, pens, gum, etc. Mom and I found enough change to fill a glass jar!

Tuesday, May 25, 2010

Creating Outfits: Part 2

As I was taking photos of my new pieces yesterday I decided to keep going and create more spring outfits. Here is some of the creations I came up with.
I bought this dress at a boutique around the corner from our apartment. I haven't had a chance to wear it yet, but I am taking it to Odessa this weekend.
I bought this infinity scarf while my mom was here. I am still getting used to the weather here. Layering is important. Scarves are great for layering dresses.
I bought this scarf a few months ago and have had a hard time finding something in my closet that goes with it. These stones in these shoes turn purple and the specks in the dress blend well with the scarf.
It is easy to change this dress by simply switching the belt. I found this belt and knew it would be perfect with the dress. It looks adorable! This outfit is a winner, I will definitely be taking it on my trip!
I made this necklace from 2 of my great grandmothers necklaces and wanted to wear it. I thought it looked pretty with the lacy blouse.

Love this gold wrap!
I would love to wear my denim jacket more, but I need some khaki capri pants for the summer. While creating outfits you will start to see some "holes" in your wardrobe. Write them down on a shopping list when you see a hole. Examples of my shopping list: pants to go with a denim jacket, print top to match my new pink skirt, Gold sandals, shirt to match purple scarf. Once you have a shopping list going give me a call and I will help you find the pieces to fill in your wardrobe holes!

Monday, May 24, 2010

Creating Outfits!

My mom was in town this weekend and we did some shopping! Nothing too exciting, but I did find 2 new pairs of sandals, a skirt and 2 tops. After shopping. I always come home and put new outfits together with my new pieces. Too many people "save" their new clothes for a special occasion, but I say "wear it today" before it gets boring from seeing it in the closet everyday. (Let me apologize ahead of time for the photo quality of my pictures. I am planning to get a new camera for my birthday, in August, so until then we will have to struggle through together..)

Here are my new sandals. Great purchases from Nordstrom Rack! Love the discount stores!
It is important when you are looking at buying colored shoes that you have pieces in your wardrobe that will match them. I knew that I had recently purchased 2 pink sweaters and I also bought a pink skirt, so I felt it was worth the purchase.


Above is the pink skirt I found for $14 at Nordstrom Rack. These skirts are very popular this summer. I knew the grey pair of sandals would fit perfectly into my wardrobe! The stones turn colors with what I wear. I will wear these out this summer!

This shirt is soo pretty! Jeffrey loves me in ruffles. Remember ruffles fit into my girlie personal style! This shirt will need a little alteration, it is a little too long. I love long shirts, but this one is too tight around my hips, so I am going to have it taken up a few inches and maybe have some slit put in on the sides (the bigger size was too big in the top of the shirt).
Shopping is so much fun! Call me and we can shop and create fun outfits out of your clothes!

Sunday, May 16, 2010

My Favorite Summer Polish!

This year I had to find a new fingernail polish because my favorite from last summer was discontinued. Doesn't that always seem to happen? One of the biggest complaints with selling makeup is when a client's favorite lipstick is discontinued. I know it is a pain, but it is actually a good thing. It is a way to keep us updated. If I people continued to wear their favorite colors year after year, they would be quickly get stuck in a time warp.

Last summer I wore OPI's "Nantucket Mist." By the power of the internet I was able to find one more bottle of it from an online cosmetic company (I just couldn't let it go..). I found this year's color when I saw it on my friend Megan. The moment I saw it, I knew it was perfect! It is by OPI and is called "Party in my Cabana." Sometimes colors do not look the same each person, so I was excited when this color worked.

I LOVE to paint my nails. Unfortunately, since I work with food at my part time job, I am not allowed to wear polish when at work. On my day's "off" I try to paint my nails, just because it keep them from breaking. If you can learn to do your own nails, you can save a lot of money from getting manicures and pedicures. I have found that when I get my nails "done" I don't like what they look like as much as when I do them. Here are my 3 essential products for getting a professional polished look.

1.) OPI Nail Envy: It is expensive ($18), but not when you consider how much you are saving on weekly manicures. Apply one coat daily for stronger nails, also your nail polish will last longer. If you are wearing a colored polish do not apply Nail Envy under as the base coat or the colored polish will bubble.

2.) Sephora Cuticle Pusher: I found this product in when I was in high school and could not live without it! It pushes your cuticles back and also scrapes off the wet polish that gets on your skin as you paint your nails.

3.) Cuticle Clippers: I know many people do not believe in clipping cuticles, but mine are too thick to leave. Be careful not to clip to closely. I got my last pair from Sephora and they have been great. Try to find a pair with narrower blades so that you will have more control (hopefully that makes since) .

Other colors that are in my nail polish bag are: Grand Canyon Sunrise, Chapel of Love, and Baguette Me Not... (all OPI colors.)

Thursday, May 13, 2010

Wedding Ideas!


My best friend, Katie Wheeler, got engaged last weekend! She has been planning her wedding since before she even met her fiance...but don't most girls! I remember choosing my bridesmaids in elementary school (3 of the girls from that list actually were my bridesmaids!)
Katie and I at my wedding

Recently, Katie told me about this fun website called "Ruffled Blog." It is a website devoted to vintage styled weddings. If you are planning a wedding I suggest checking it out. If you like to look pretty things you should also take a look! I have had so much fun with it and I already had my perfect wedding. Some of the dresses are amazing, and the ideas for favors and decorations are beautiful!
I love weddings! Doing makeup for brides and the bridal party is one of the best parts of my job. The brides are so happy. This is the most important day of their life and I am always honored to know I had a part in making it special. If you know someone who is getting married soon, please send them my name and website!